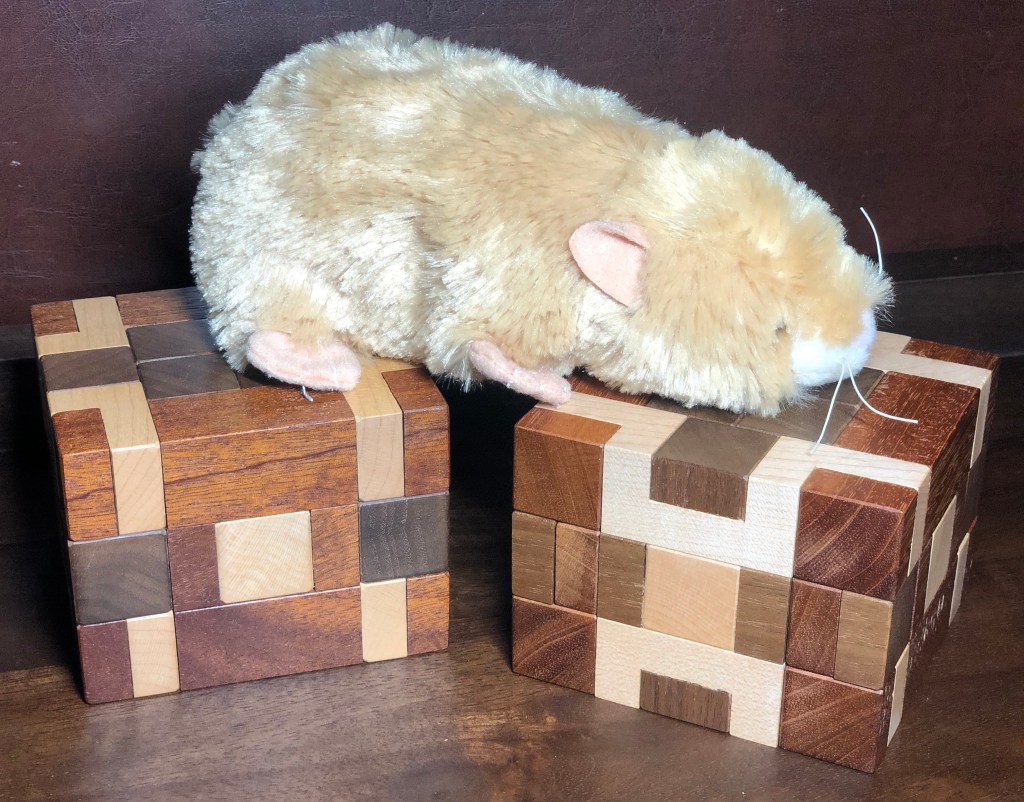
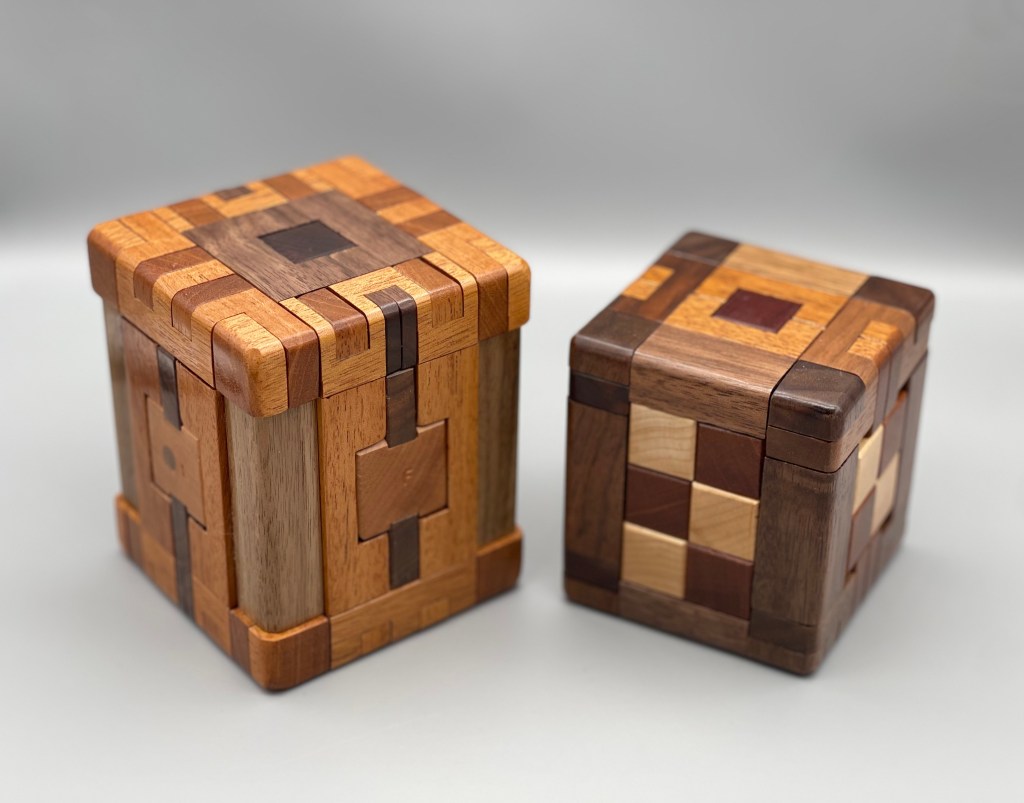
Snappy Burr & Obscure Burr
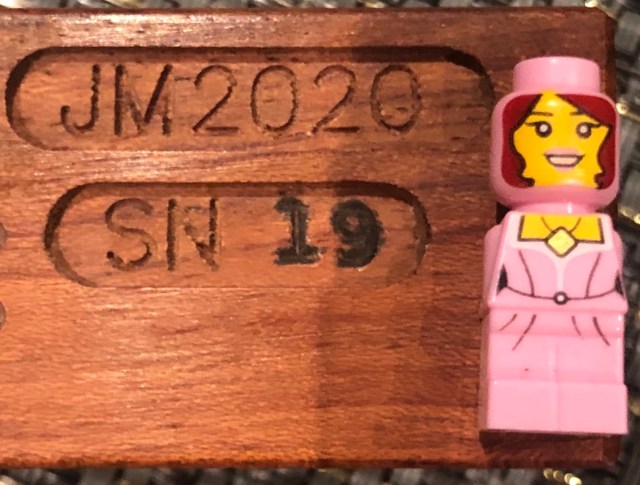
Jerry McFarland, 3.25″ x 4″, Mahogany, Walnut, Cherry & Kingwood (Snappy)
3″ x 3.5″ (Obscure)
When Jerry asked if I would be interested in trying out a new puzzle, my fingers couldn’t hit reply fast enough – he is one of those designers whose puzzles I will gratefully buy sight (or even description) unseen. The fact that he is returning to the Magnetic Burr series with what is most likely the final design (after a brief semi-digression with Obscure Burr) should make even the most discerning of burr buyers be ready to buy (if bossible).
If you are not already on Jerry’s list(s), it may be sadly difficult to obtain a copy of Snappy; Jerry produces puzzles in small batches, and there are only a few more copies of this puzzle to come in the near future (all of which I believe have already been earmarked). As with all his puzzles, it is well worth the wait, even if it takes a couple of years (such is the nature of a good puzzle’s wait list, as I know all too well – my copy of Burrnova will hopefully be coming sometime this year after a 2-3 year wait and yet it seems like a blink of an eye when your time on a long waitlist comes up).

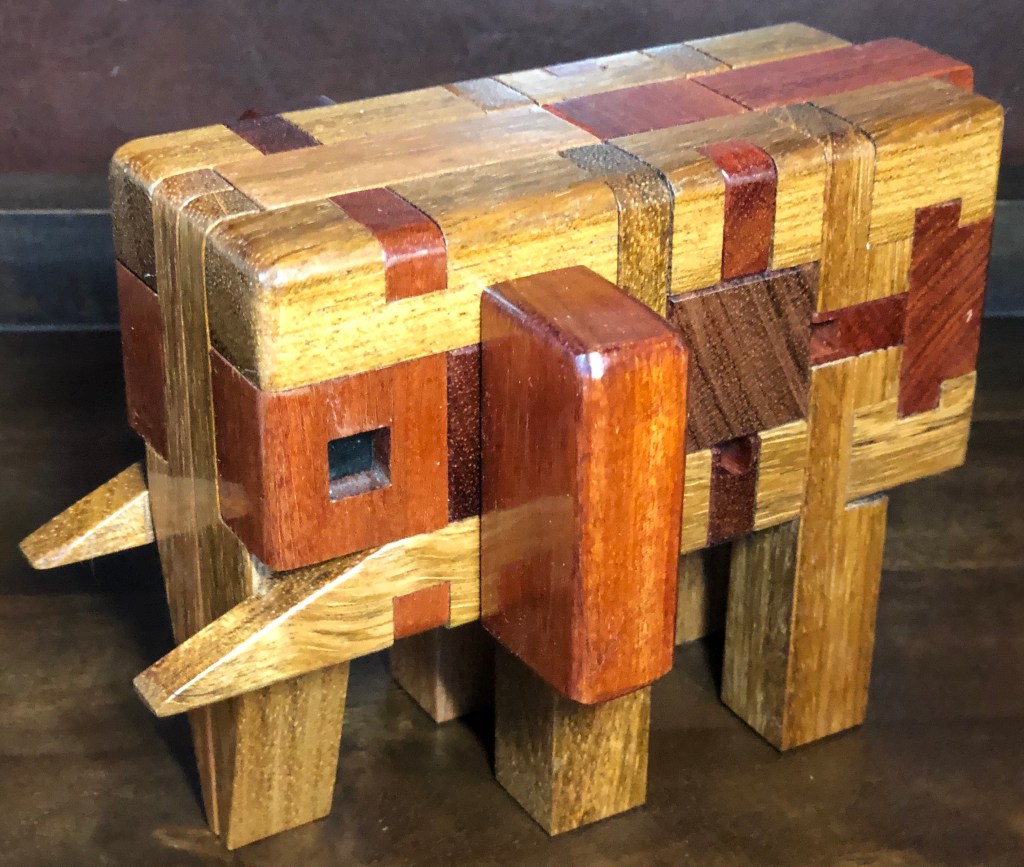
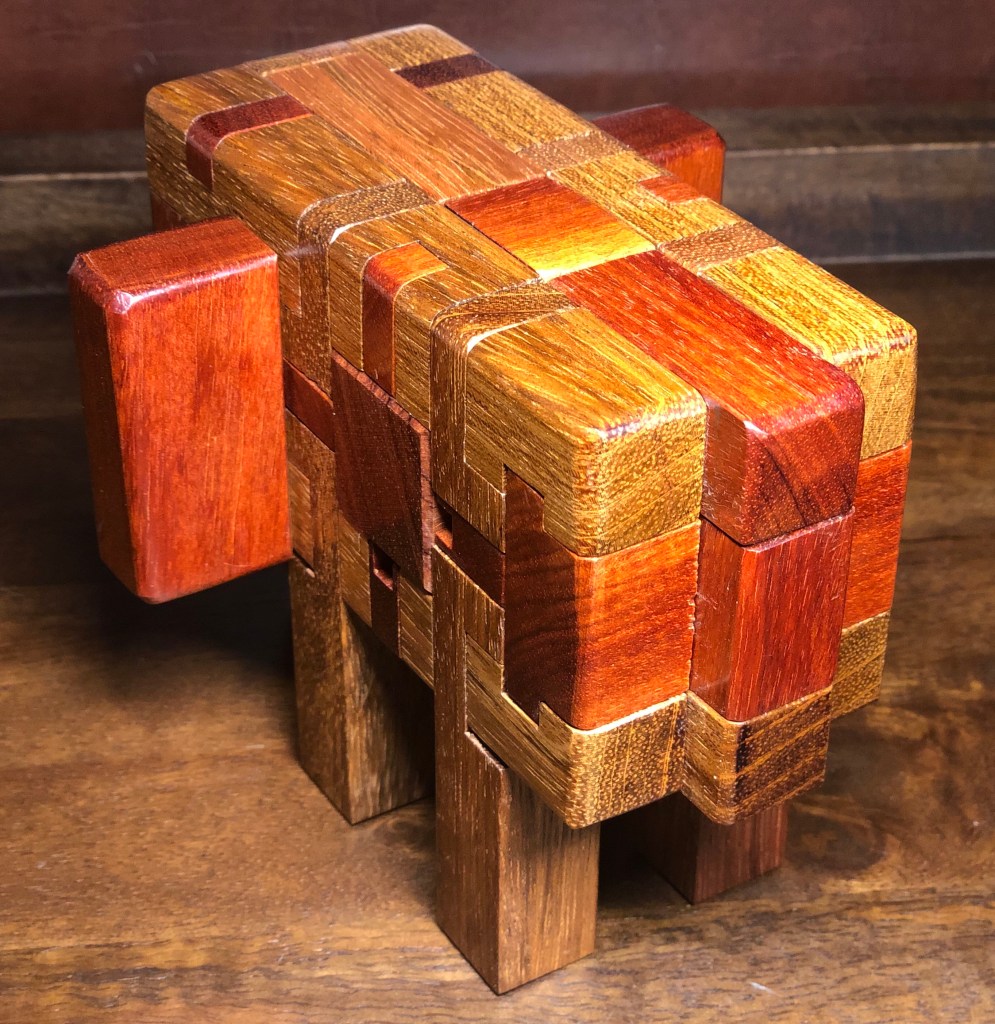
The Magnetic Burr series may not be an official name, but it captures the essence of the three (now four) cubic burrs: Fidget Burr (reviewed by me here), Burrlephant (also reviewed by me) and Burrnova 3d (I actually had the option to get a copy last month, but Jerry graciously asked to sell it to a certain mutual puzzling friend’s NPSO as a surprise gift and I was happy to play a small role in this friend’s holiday happiness). The burr cubes in the series all feature magnets (duh) and integrate some very cool and unique mechanisms into the designs; all of them feature some kind of surprise(s) or treasures, whether Fidget’s Pink Lady, Burrlephant’s sd mechanisms or Burrnova’s….. well, I guess I’m not sure if Burrnova follows suit but I’m going to go ahead and say that it does 😉
Obscure Burr
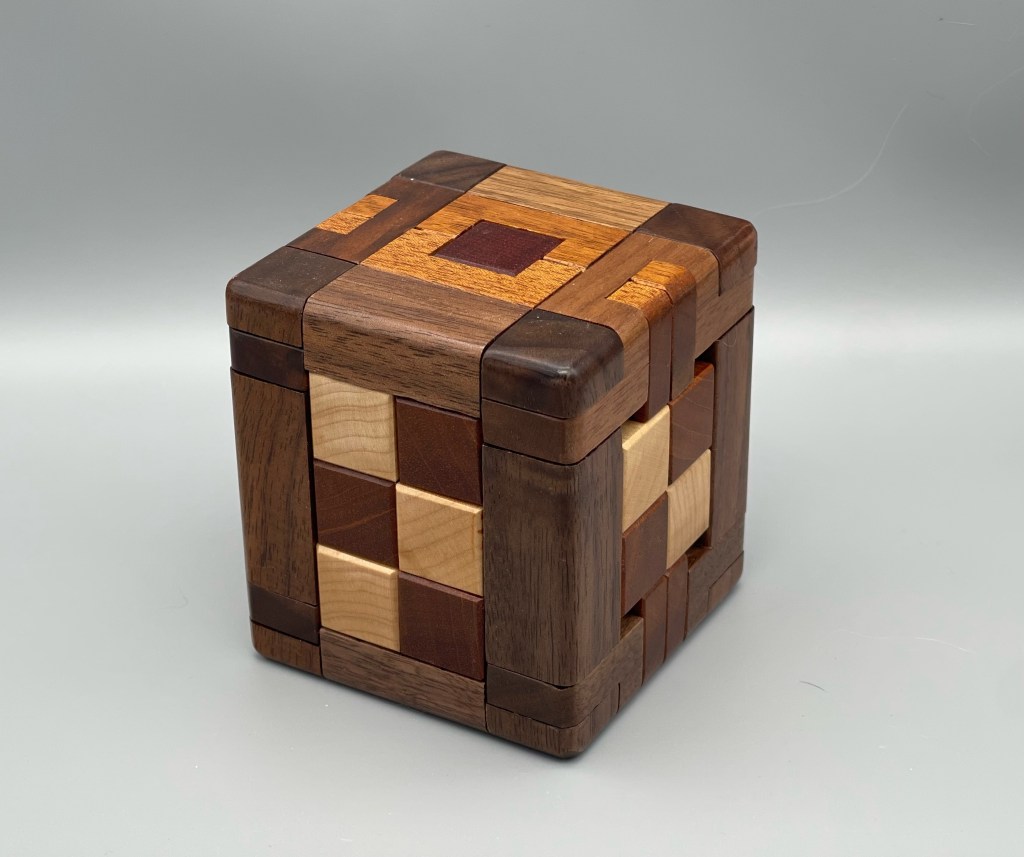
Obscure also uses magnets but isn’t really considered part of the series – the concept is something of an outlier, relying on a pretty esoteric idea that is sure to elude the majority of puzzlers (as it most certainly did me!). I was ultimately able to solve it by cheating, which still made for a cool puzzle, but understanding the concept behind the design gives it a considerably better pedigree. Jerry integrated a (likely needed but still rather obscure) hint into the design and later versions have it hidden under a magnetically attached block – I have not seen one of these copies in person but the pics make it look pretty cool; personally, I think the hint is a cool idea that is particularly appropriate here and is yet a feature that points to the puzzle’s difficulty and originality – I suspect there are very few puzzlers who will deduce the solution otherwise (even with the hint, few may deduce it).

Obscure was perhaps a bit controversial, the obscurity being even greater than perhaps many a puzzler expected. Regardless, it is a cool and extremely unique puzzle with a great fidget value that, I think, ensures its designation as a worthy puzzle to have in your collection. It highlights the idea of puzzles as art, being a physical manifestation of an idea that struck the maker and compelled him to find a way to produce it irl. If that ain’t art, I don’t know what is.
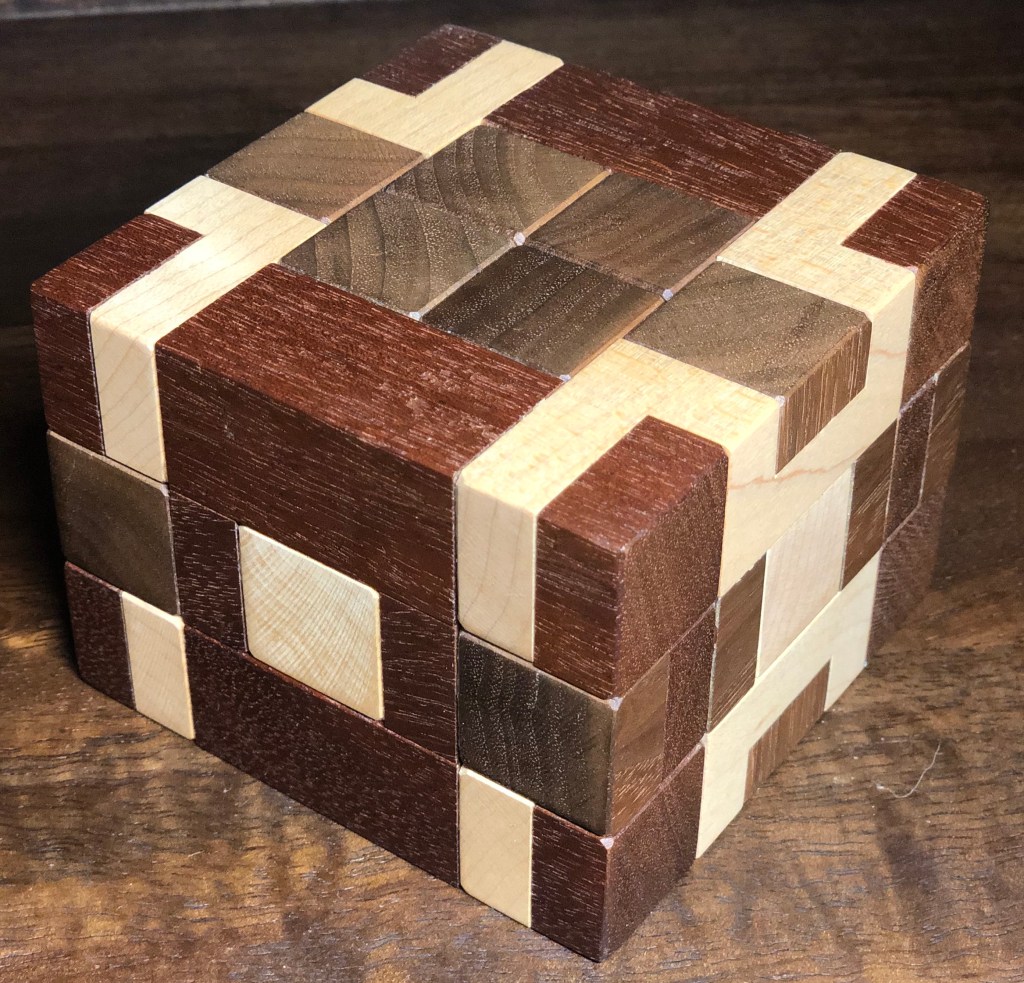
Snappy Burr
Snappy is a rectangular cube that consists of 28 pieces and 26 magnets(!). The goal is to “remove the snappy fidget toy inside the puzzle,” which is itself instantly intriguing. It shares an aesthetic with Jerry’s other burrs, a polished gleam highlighting the contrasting sticks of varying widths, woods and shapes, with curves at the edges that make it feel excellent in your hands. The corner pieces are set back a couple mm, creating an aesthetic that is reminiscent of columns surrounding a central core.

If you are familiar with some of Jerry’s other puzzles, you may have an idea how to initially approach the puzzle – and you may well be correct, finding yourself rewarded with the fidgety goodness you should expect. And then………… um……….. well, then I proceeded to do the same couple of things over and over and over (and over) wondering how in the heck this thing could do anything else. I really didn’t mind as its fidget friendly fun is fan-forking-tastic, possibly even beyond Fidget Burr; it has a 3-axis snappy main mechanism with a tactile sensation that is just oh so satisfying. The clickiness of it is truly awesome (perhaps not so much to my wife, who somehow tolerated it while I futzed with the puzzle over the course of a few evenings).

Eventually, I discovered…. something…. and knew I was moving in the right direction. It would still be quite a while before I was able to work out how to do what needed to be done and then, with a wonderful aha, I made actual progress, finally solving the main trick of the puzzle. From there, it was a fairly straightforward matter of disassembling the remaining pieces and removing the toy. Reassembly was both easy and very very tricky; as with his other puzzles, Jerry has helpfully included some internal initials to help identify what goes where, allowing you to appreciate the build rather than be frustrated by it, unlike many a burr cube that is likely to force you to rely on burrtools for the reassembly (or, in Jerry’s case, the pictures he provides to assist with reassembly). But when it came time to put together the main part of the mechanism it turned out to be as challenging as when I disassembled it; a certain aspect of the design had the effect of distracting me during the initial solve, so that I didn’t fully grok some of what I had done.
Finally, I was able to reverse engineer my aha and I found that what seemed like an impossible assembly that had to rely on force and inappropriate angles was actually an elegantly perfect fit. I can now do this main bit with ease, having found the sweet spot permitting it. And I gotta say it is darn satisfying to do – the puzzle earns its name, not just with its early fidgetiness but here at the core of its build.
Another well-known puzzler was also offered the chance to buy an early copy for testing, so be sure to look out for his thoughts on his excellent OG puzzle blog, PuzzleMad. Otherwise, if you aren’t able to get a copy, be sure to find me at the next puzzle party as it will definitely be accompanying me on the trip. Until then: keep puzzling and may excessive force not be with you.
Playability Grade: Five Sinatras